Getting Started: Before You Dig a Single Shovel
So, you're planning a new shed for the backyard. That's great! Whether it's for tools, bikes, or just extra storage, a good shed starts with a good foundation. And trust me, as someone who's seen plenty of sheds sink or tilt over the years, this isn't a step you want to skip or cheap out on. Before you even think about buying lumber or ordering a pre-fab kit, you need to get your ducks in a row.
First off, permits. Yeah, I know, everyone hates them, but they're important. In Parker, any structure over 120 square feet usually needs a building permit. Even if your shed is smaller, check with the Town of Parker's planning department. You don't want to build something only to find out you have to tear it down later. They'll also have rules about setbacks from property lines and easements, which are crucial. You might think you have plenty of room, but those rules can surprise you.
Next, think about your site. Is it flat? Probably not perfectly. Most yards around here have some slope. You'll need to consider drainage – where's the water going to go when it rains or when the snow melts? You don't want it pooling under your shed. Also, think about what's under the ground. Are there utility lines? Sprinkler systems? Before you start digging, call 811 to have utilities marked. It's free, it's the law, and it can save you a huge headache (and potentially a trip to the emergency room).
Finally, what kind of shed are you building? A small, lightweight plastic shed? A heavy-duty, wood-framed workshop? The type and size of your shed will dictate the foundation type. For smaller, lighter sheds, gravel or concrete blocks might cut it. For anything substantial, you're probably looking at a concrete slab or a robust post-and-beam system.
Foundation Options: What You Can Do, What You Might Not
Alright, let's talk about the actual foundations. You've got a few main choices, and each has its DIY potential.
- Gravel Pad: This is probably the most DIY-friendly. You clear the area, lay down some landscape fabric to prevent weeds, build a simple perimeter frame out of treated lumber, and fill it with compacted gravel. It provides good drainage and a relatively level surface. It's best for smaller, lighter sheds. If you're handy with a level and a tamper, you can definitely tackle this. Just make sure you get enough compaction, especially with our expansive clay soils here in Parker.
- Concrete Blocks (Skids or Piers): Another relatively easy option. You'll need to level the ground, lay down a gravel base, and then strategically place concrete blocks or piers. The shed then sits on these. This works well for sheds with a built-in floor frame. The biggest challenge here is getting everything perfectly level and ensuring the blocks are stable. You might need to dig down a bit to get them solid.
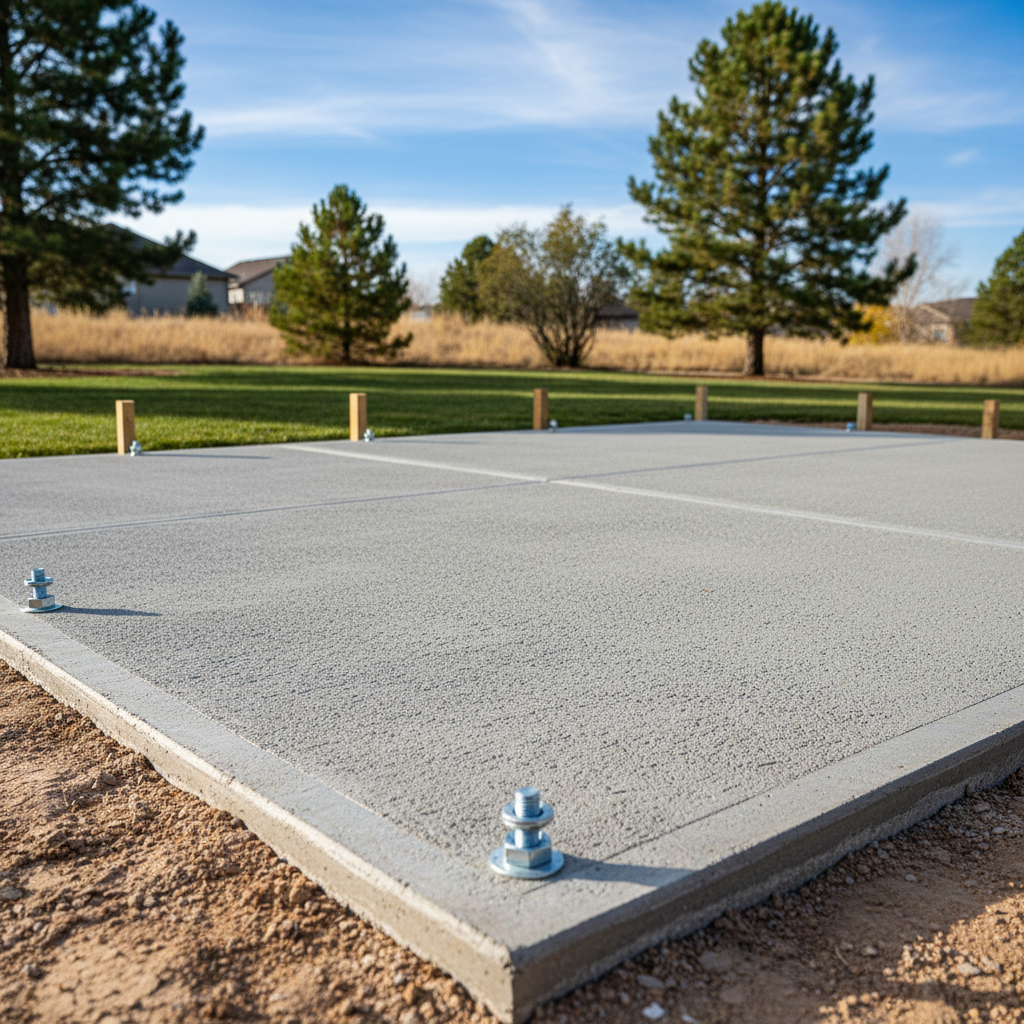
- Concrete Slab: This is the gold standard for stability and longevity, especially for larger, heavier sheds. It's also where the DIY line gets a little blurry. Pouring a concrete slab involves digging, framing, laying down rebar or mesh, and then pouring and finishing the concrete. If you've never done it before, it's a big undertaking. Getting the grade right, ensuring proper drainage, and achieving a smooth, level finish is tough. You'll also need to consider frost heave, which is a real issue in Colorado. A proper slab needs to be thick enough and have a good gravel base to mitigate this. For anything over, say, 100 square feet, or if you're not confident with concrete, this is where you really should consider calling in a pro. We do a lot of these at Parker Shed Solutions, and believe me, there's an art to it.
- Post and Beam: This involves sinking treated posts into the ground below the frost line and building a wooden frame on top. It's great for uneven terrain or if you want to keep the shed floor elevated. This is generally more complex than a gravel pad or blocks and often requires more carpentry skills. Again, hitting that frost line (around 30-36 inches deep here) is crucial to prevent movement over time.
During and After: Don't Forget the Details
No matter which foundation you choose, attention to detail during installation is key. Use a good, long level – not just a small torpedo level. Measure twice, cut once, and check your diagonals to make sure everything is square. Compaction is your friend, whether it's gravel or the soil under your blocks. A vibrating plate compactor can be rented and makes a huge difference.
Once your foundation is in, don't just forget about it. Keep an eye on it, especially after heavy rains or snowmelt. Look for any signs of settling, erosion around the edges, or water pooling. If you went with a gravel pad, you might need to top it up occasionally. If you poured a slab, make sure any cracks that develop are hairline and not structural. Proper drainage around the shed is always important, so make sure your gutters (if you have them) are directing water away from the foundation.
Building a shed foundation isn't glamorous, but it's the backbone of your entire project. Doing it right the first time will save you headaches and money down the road. If you're ever unsure, especially with those bigger concrete jobs, don't hesitate to give us a call at Parker Shed Solutions. We're happy to talk through your options and see if it's a job for you or for us.