So, you're kicking around the idea of a garden shed, huh? Smart move! Whether you're sick of tripping over tools in the garage or just need a dedicated spot for all your gardening gear, a shed can seriously change your backyard for the better. But hold on a sec — before you jump right in, there's quite a bit to think about. I've seen tons of sheds go up around Parker, and yeah, I've also watched a few projects hit some bumps. Let's chat about what you really need to know, from the very beginning to the final touches.
Before You Even Think About a Hammer: Planning Your Shed
First things first, what's this shed actually for? Sounds kind of obvious, right? But honestly, knowing its main job will pretty much decide its size, what kind it is, and even exactly where you put it. Is it just for the lawnmower and a couple of shovels? Or are you picturing a potting bench, a spot to start seeds, and a place to stash all your soil amendments? Figure out everything that's going inside, then tack on an extra 20% space. Trust me, you'll always fill it.
Okay, next up: Parker's rules. You can't just drop a shed anywhere you please. The Town of Parker has specific zoning rules and setback requirements you've got to follow. Generally, if your shed is under 120 square feet, you might not need a building permit, but you still have to meet those setback rules from property lines and other buildings. Always, always call the Town's planning department. A quick phone call now is way better than having to move or tear down a shed later. Believe me, I've seen that happen, and it's no fun at all.
Then there's your actual site. Where's it going to sit? Think about drainage. We get some pretty serious downpours here in Colorado, and you definitely don't want your shed chilling in a puddle. Look for a spot that's naturally a little higher or where water will just flow away from the structure. Also, consider the sunlight. If you're growing anything inside, you'll want good light. If it's just storage, maybe a shadier spot is fine; it'll keep things cooler in the summer.
Picking Your Shed: DIY Kit, Pre-Built, or Custom?
Here's where the whole "do it yourself" versus "hire a pro" question really comes into play. You've got a few choices:
- DIY Kit: These kits come with all the pieces already cut and ready to assemble. Think of it like a giant LEGO set, really. If you're comfortable with a drill, a level, and can follow instructions, this is totally doable for many homeowners. You'll save money on labor, but it will eat up your time, and you'll definitely need a friend or two for some of the heavier lifting, especially for walls and the roof.
- Pre-Built (Delivered): Some companies sell sheds that are completely built somewhere else and then brought right to your property. This is super convenient. You just need to make sure the delivery truck has clear access and that you've got a properly prepared foundation waiting. The downside? Less room for customization and possibly higher delivery costs if getting it in place is tricky.
- Custom Build: This is when you hire a contractor (like us at Parker Shed Solutions) to design and build a shed specifically for your needs and your yard. It's the priciest choice, no doubt, but you get exactly what you want, built to code, and you don't have to lift a finger. This is often the best route for bigger sheds, more complex designs, or if you just don't have the time or skills for a DIY project.
For most garden sheds, say, under 10x12 feet, a good DIY kit is a solid option if you're comfortable with basic construction. But if you're going bigger or want something that truly matches your home's look, a custom build is probably the way to go.
The Foundation: Don't Cut Corners Here
I can't say this enough: your shed is only as good as its foundation. Here in Parker, with our expansive clay soils, a proper foundation isn't just a nice-to-have, it's absolutely critical. You simply can't just put a shed straight on the ground. It'll settle unevenly, twist up, and eventually rot. You've got a few options:
- Gravel Pad: This is a popular DIY choice for smaller sheds. You dig out the area, lay down some landscaping fabric, and then fill it with compacted gravel. You'll usually put pressure-treated skids or blocks on top of the gravel for the shed to sit on.
- Concrete Slab: This is more permanent and much sturdier. It's definitely a job for a pro, unless you've got experience pouring concrete yourself. It works great for larger sheds or if you want a really solid, rodent-proof floor.
- Pier and Beam: This involves concrete piers dug into the ground, with a wood frame built on top. It allows for good airflow underneath, which can be fantastic for keeping moisture problems at bay.
Whatever you pick, make sure it's level, drains well, and is right for the size and weight of your shed. If you're not sure, or if you're building a bigger shed, get a pro to at least give you some advice on the foundation. It's the one spot where trying to save a buck will absolutely come back to haunt you.
During the Build: Play it Safe and Smart
If you're tackling this yourself, wear safety glasses, gloves, and some sturdy shoes. Read the instructions twice before you even start. Don't rush things. And please, don't try to lift heavy sections by yourself. Get some help from friends or family. Pizza and beer usually do the trick, wouldn't you say?
Think about ventilation. Even a garden shed can get hot and stuffy, especially during our Colorado summers. Vents near the eaves and maybe a ridge vent will help keep air moving and stop moisture from building up, which is super important for protecting your tools and anything else you store inside.
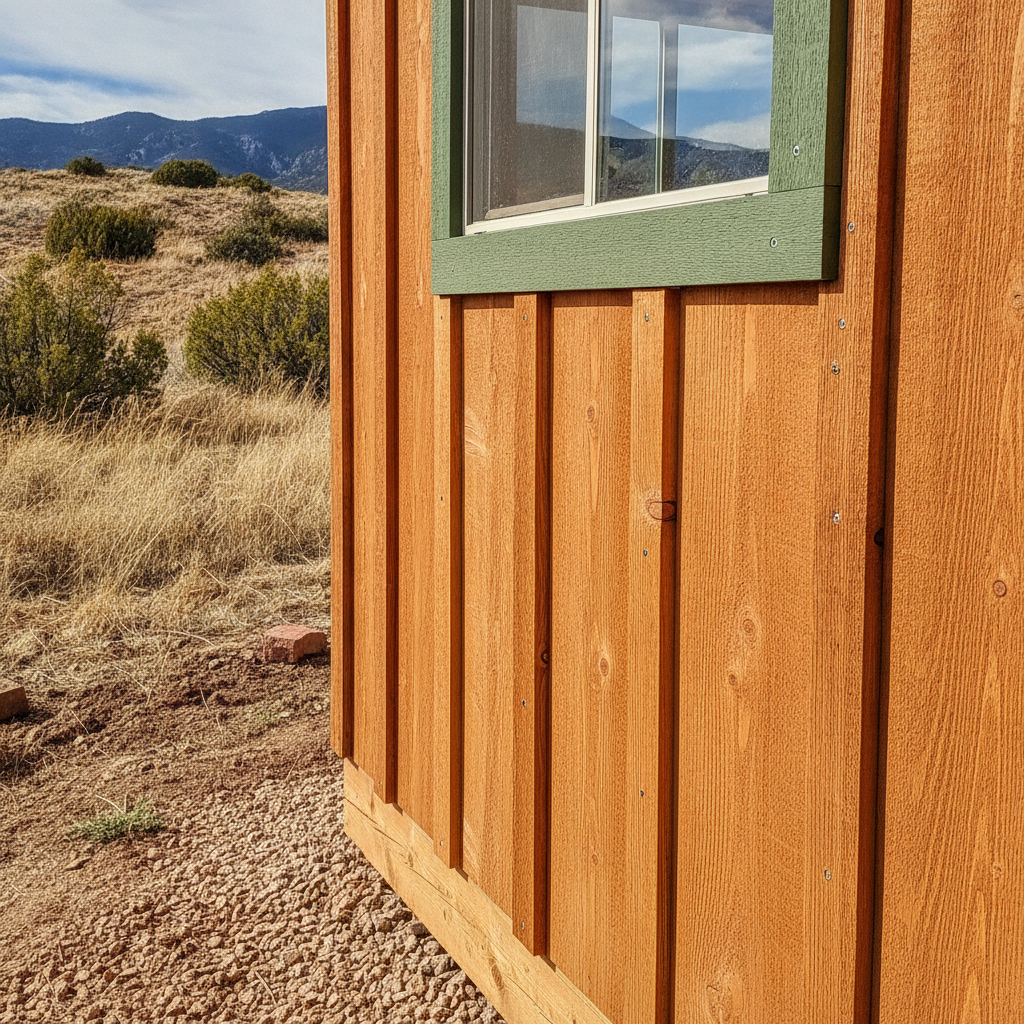
Consider your siding and roofing materials. Match them to your house if you want everything to look cohesive, or just pick durable, low-maintenance options. Metal roofing, for example, really holds up incredibly well against our hail storms and intense sun.
After the Build: Making it Your Own
Once your shed is standing, the real fun begins: organizing! Add shelving, hooks, pegboards, and tool racks. Think vertically to really use every bit of space. A smart organization system will make your shed a pleasure to use, not just another cluttered mess.
Don't forget the exterior finishing touches. Paint or stain your shed to protect it from the weather and make it look sharp. Add a ramp if you're rolling a mower in and out. Maybe some solar-powered lights for when you need access in the evening. These little things make a huge difference in how well it works and how good it looks.
Building a garden shed is a really satisfying project. It adds value to your home and just makes your life a little bit easier. Just remember to plan carefully, choose wisely, and don't hesitate to call in a local expert like Parker Shed Solutions if you hit a wall or just want it done right the first time. Happy shedding!